Workflow - Stages & Actions
The form can be divided into stages, each with its own set of rules and permissions. This allows for a more dynamic and flexible form that can change based on the stage of the process.
Stage
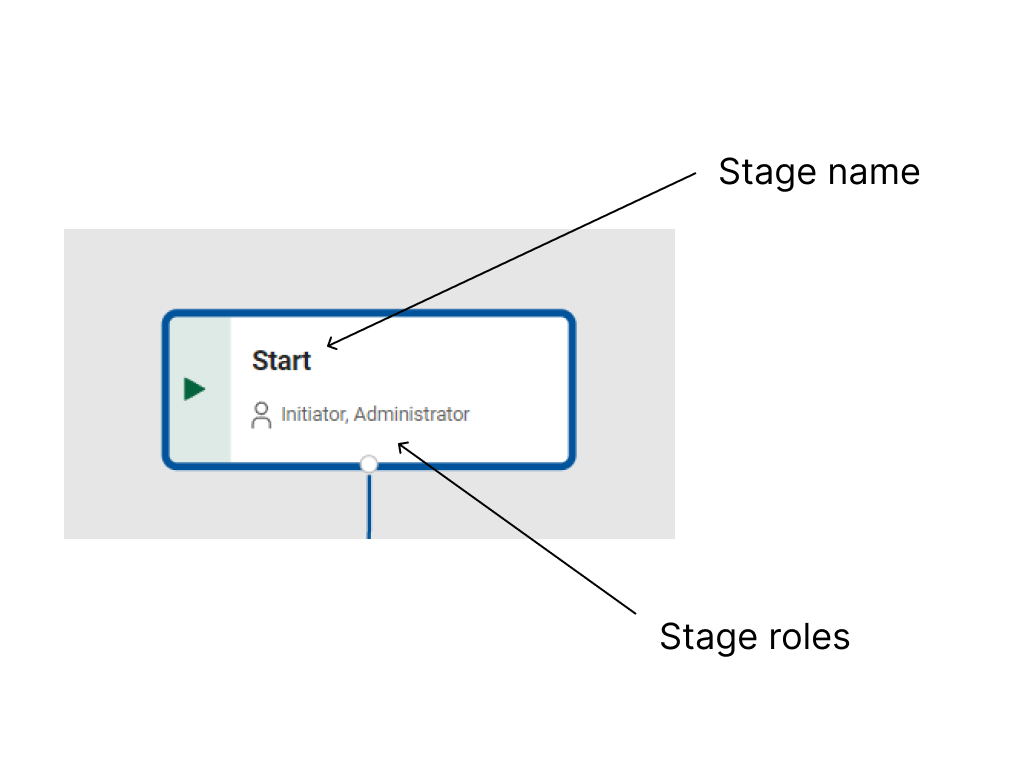
Stage representation
You can find stages in workflow tab. Stage is represented as on image below:
Using stages
As name suggests, stages are the different steps in a workflow. By default, there are two stages:
- Start - the initial stage of the form, which is accessible to users with
Initiatorrole. - Submitted - the stage after the form has been submitted, which is accessible to users with
Administatorrole.

Creating new stages
Task
Create a new stage named "Stage 2".
Step-by-Step Solution
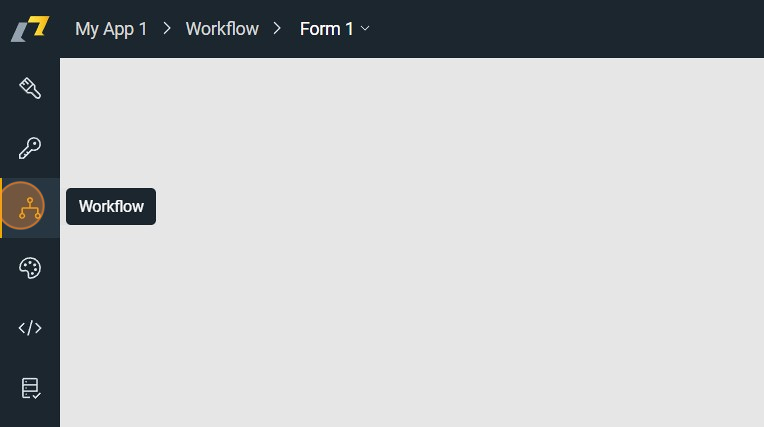
1. Navigate to workflow
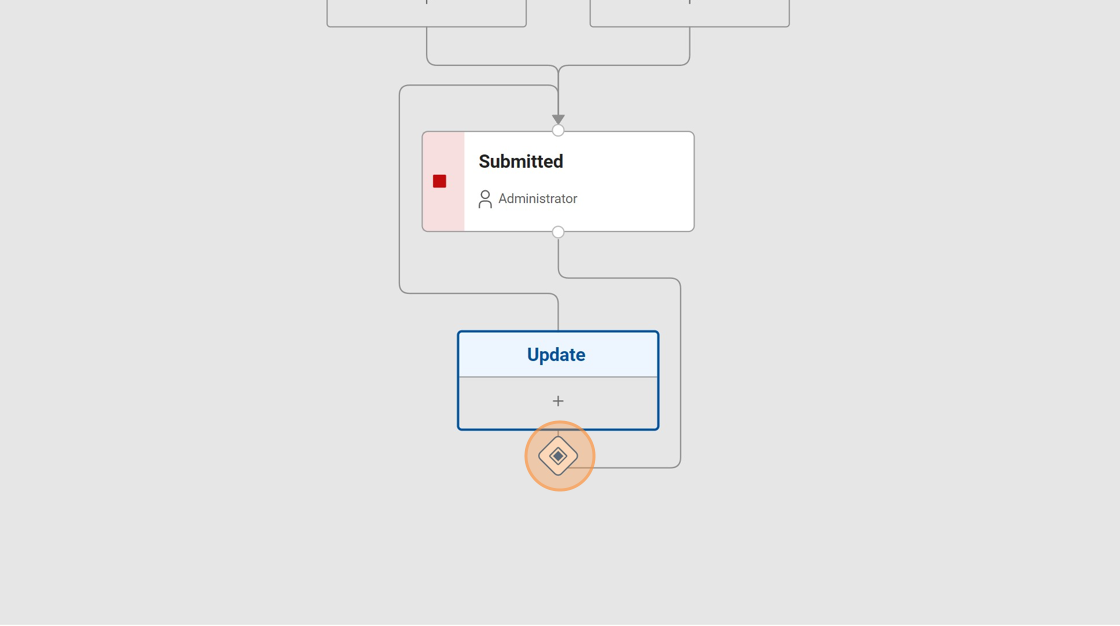
2. Click here.
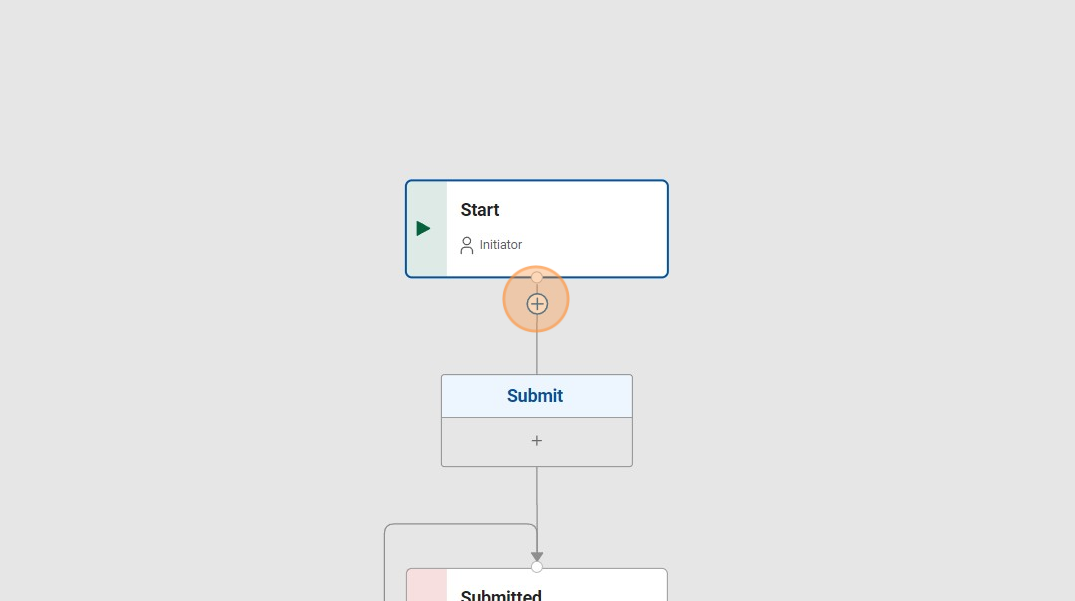
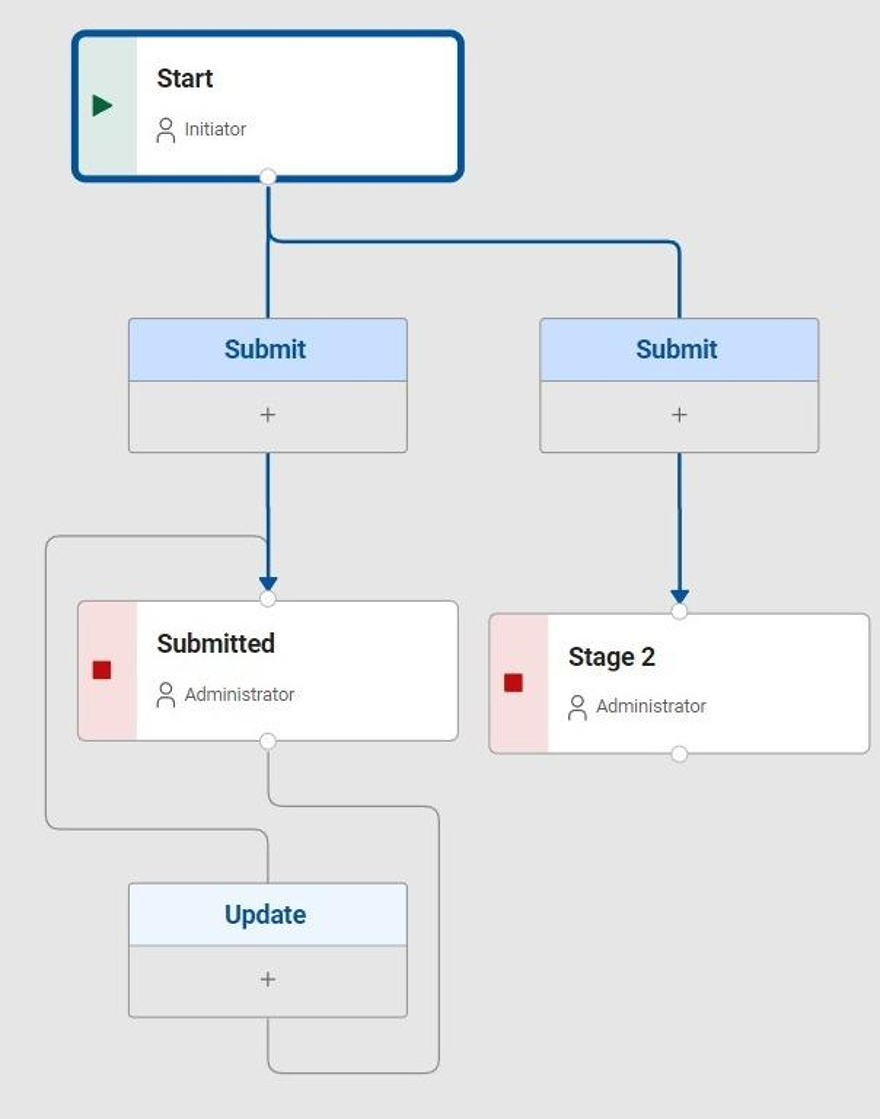
3. New stage created with name "Stage 2"
Actions
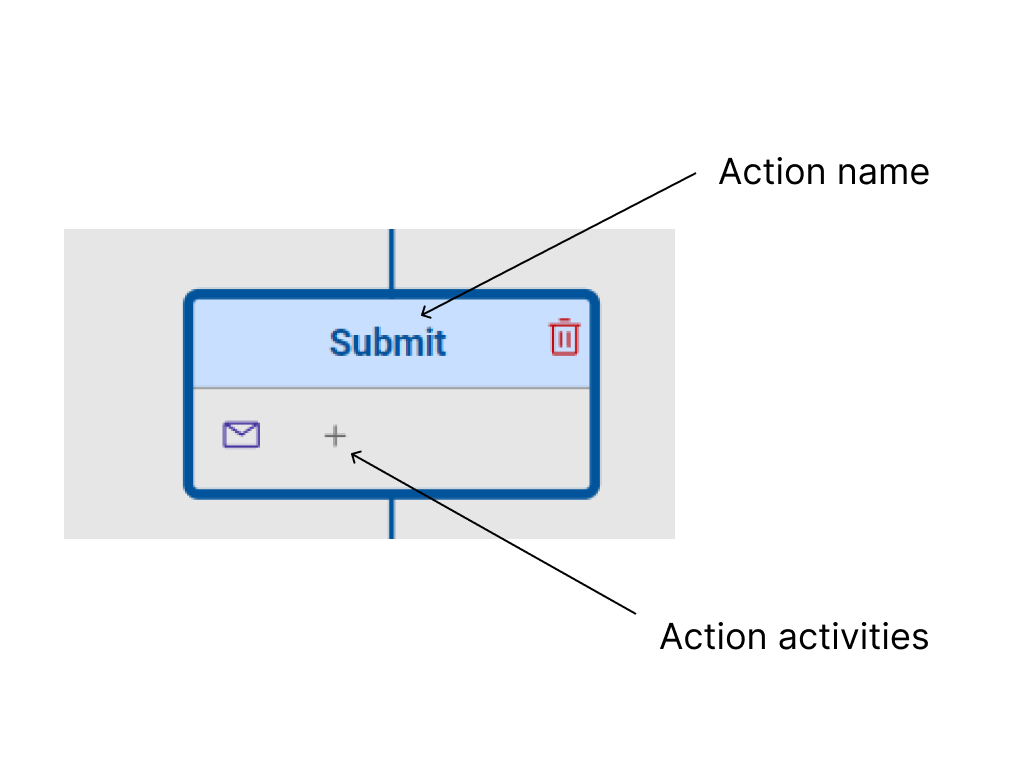
Action representation
You can find actions in the workflow tab. Action is represented as on image below:
Action Activities
Each action can have a set of activities that are executed when the action is performed. The activities can be used to:
- Send an email
- Assign users
- Call a service
Action Button representation in form
We have following example of workflow diagram. Notice that we have two actions in the start stage. 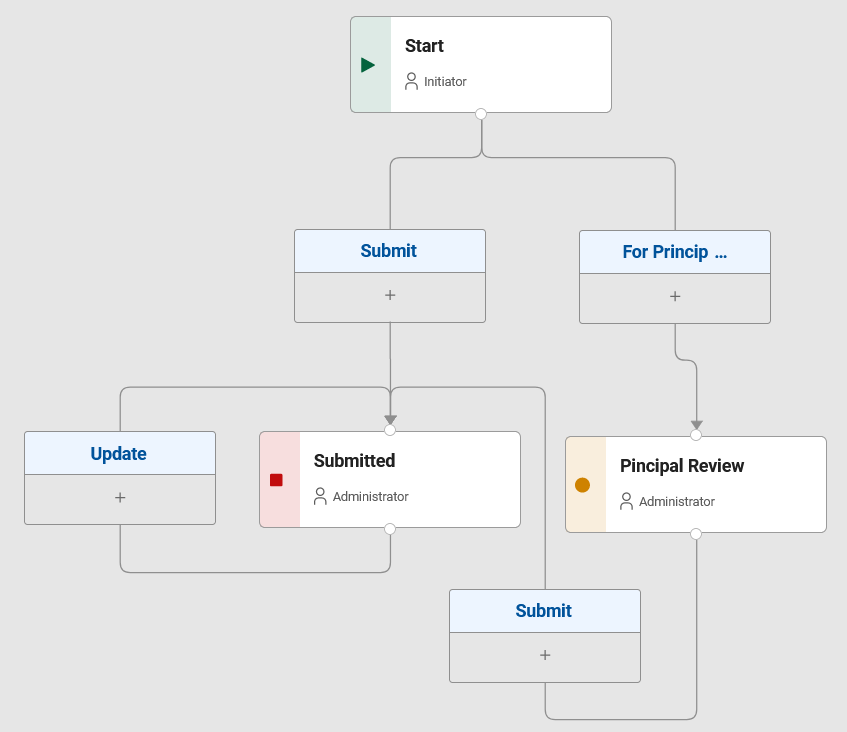 When we look at the form in start stage, we see two action buttons.
Branching
Exercise
Add a branch to the workflow with condition "Amount is greater than 10000" on field price.
Step-by-Step Solution
2. Click here to add another branch.
3. Click this text field.
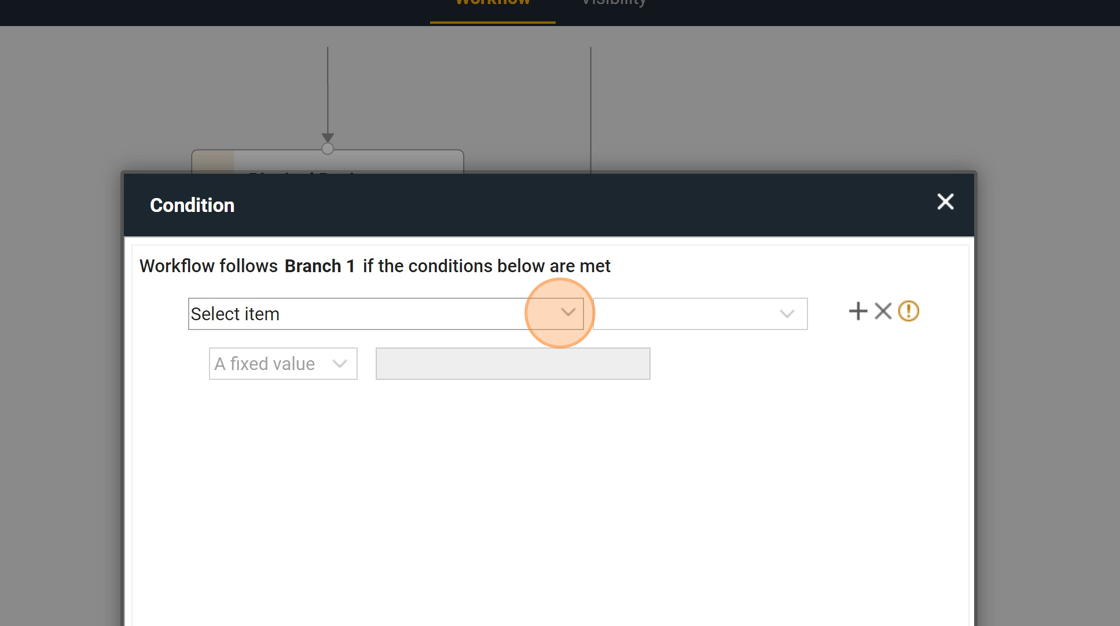
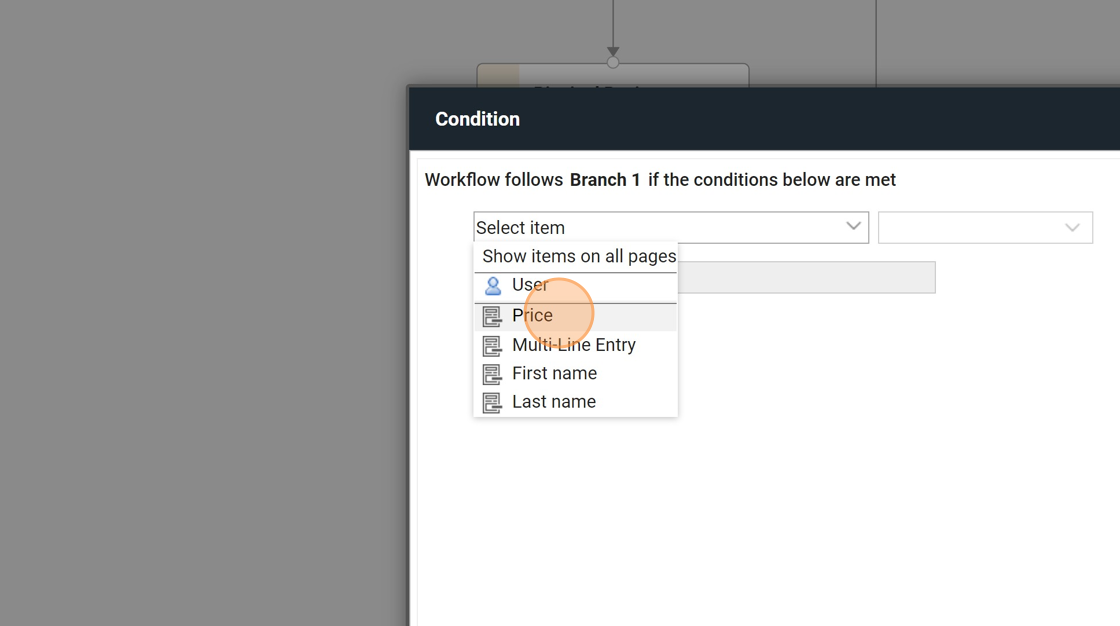
4. Select form field value or user upon witch you want to branch.
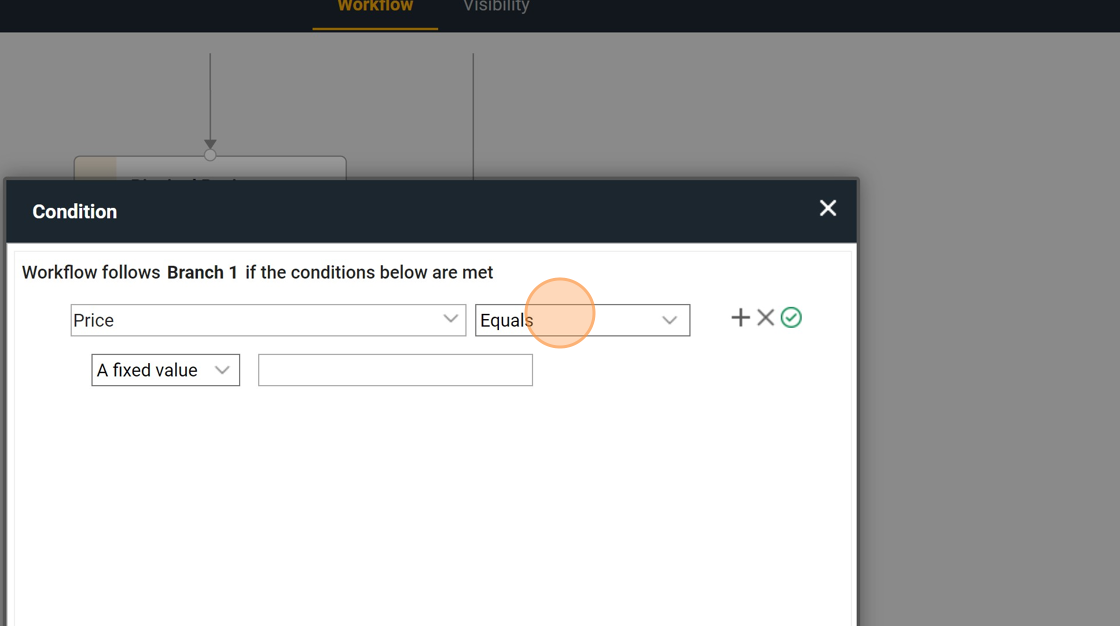
5. Click this dropdown to edit condition.
6. Click this text field.
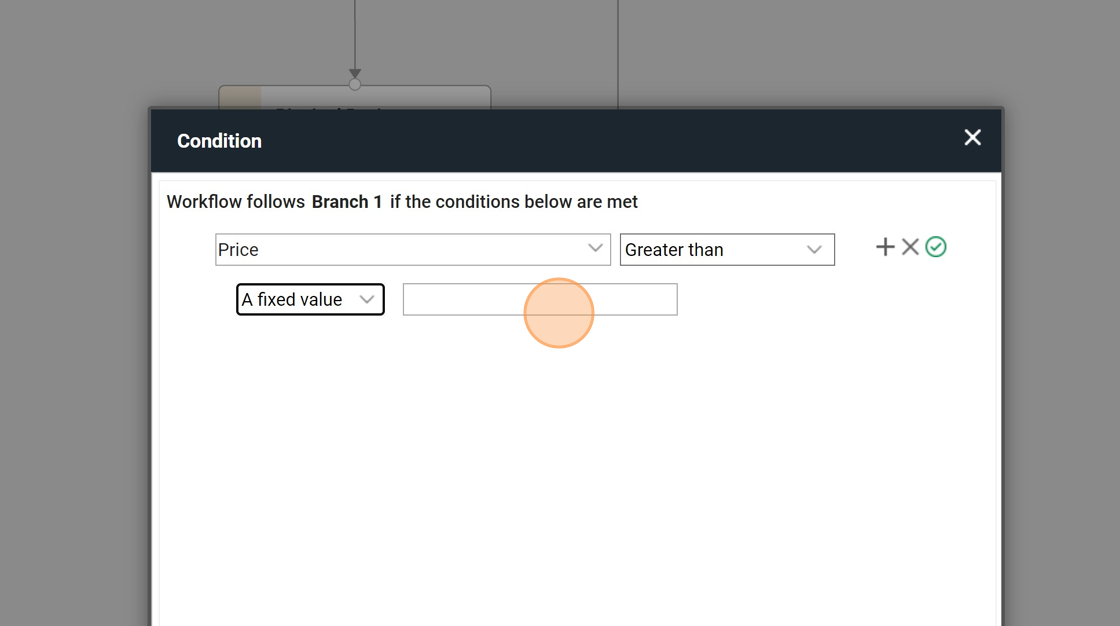
7. Type "10000"
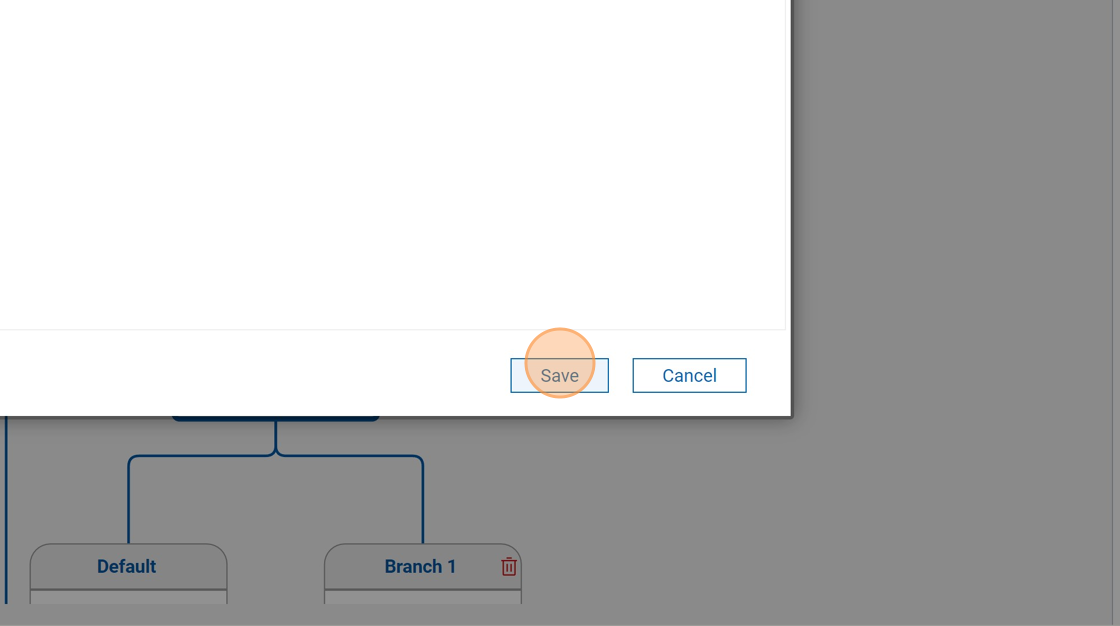
8. Click "Save"
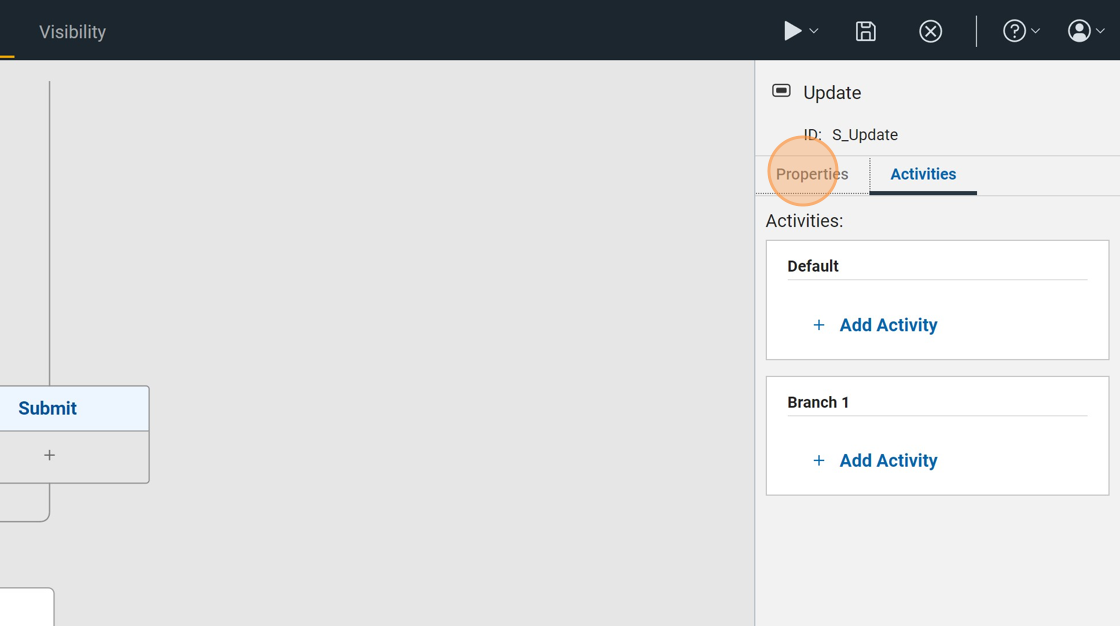
9. Here you can see your branches. Click "Activities" to set things such as email reminders.
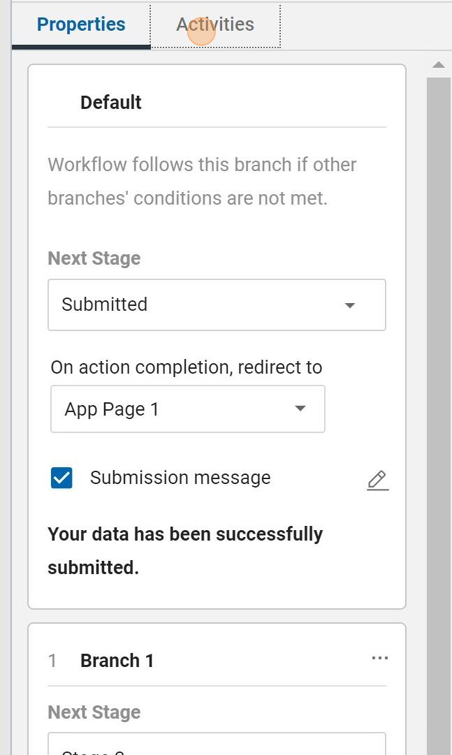
10. Click "Properties"