Introduction to No-code development in Domino Leap
In this chapter, we will cover the basics of no-code development in HCL Domino Leap. To better understand how it works, we will start by explaining what is MVC model and how it relates to Domino Leap. We will also cover the anatomy of a Domino Leap application. Next, we will explain the basics of creating apps in Domino Leap which includes:
- Design of Form pages
- Configuration of visual style
- Adding Item rules
- Creation of addtional workflow Stages
- Stage-Specific Item locking
- Additing user Roles
- Assignment of users and groups into Roles
- Setting up user permissions
- Creation of additional Form pages (optional)
- Setting visibility of Pages in Stages (optional)
- Adding AppPages (optional)
- Using Services (optional)
- Testing of the application
Default structure of Domino Leap application
By default, when you start application design from scratch, Domino Leap generates a basic structure of one form, one page, two stages and three roles:
Pages By default the application wizard creates Form1 which contains Page1. There are no Items yet, you start with an empty canvas: 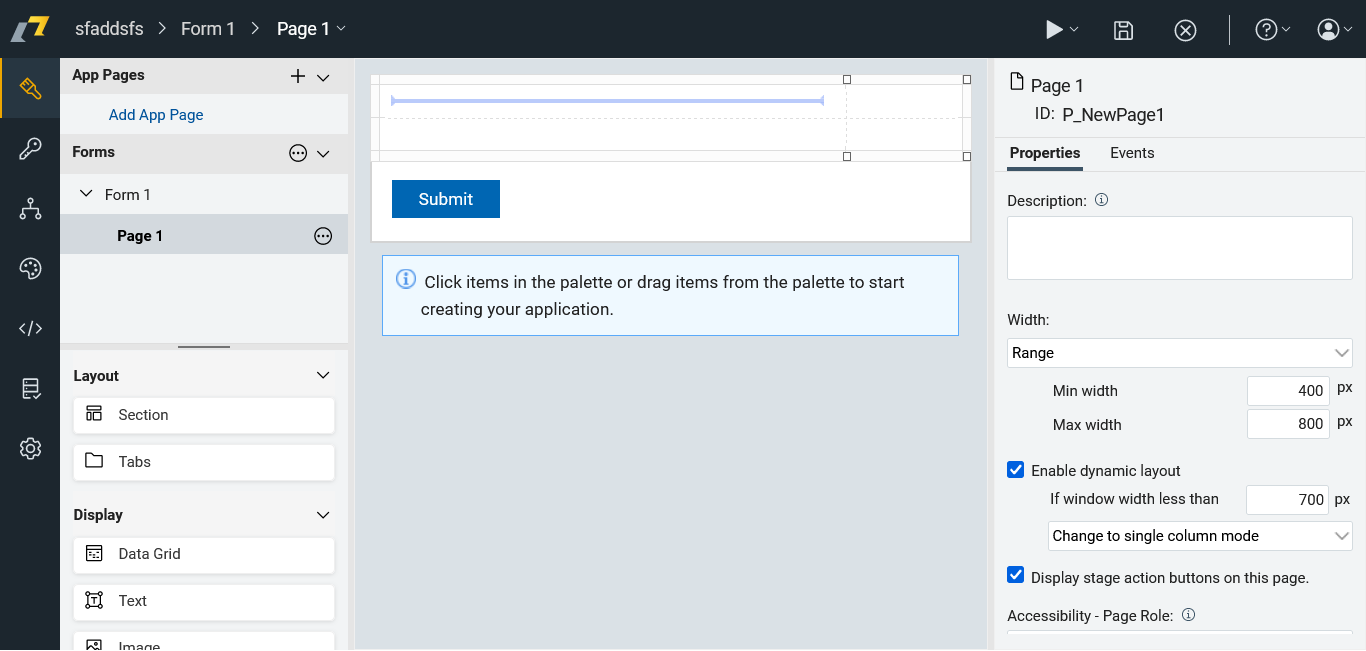
Stages There are two essential stages associated to your Form1: an initial stage called Start and a final stage called Submitted. You can rename them if you wish. Further there are two Actions already present. At runtime they will produce buttons that navigate your Form thru Stages. You can see one Action "Submit" that actually creates your data and one "Update" Action which keeps your data in the final stage.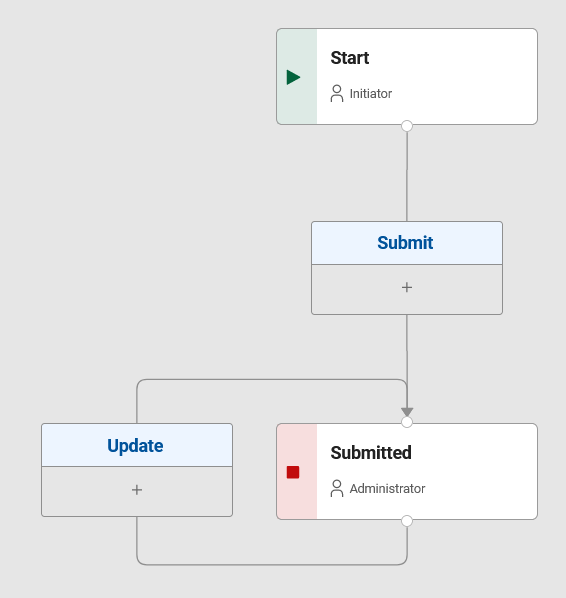
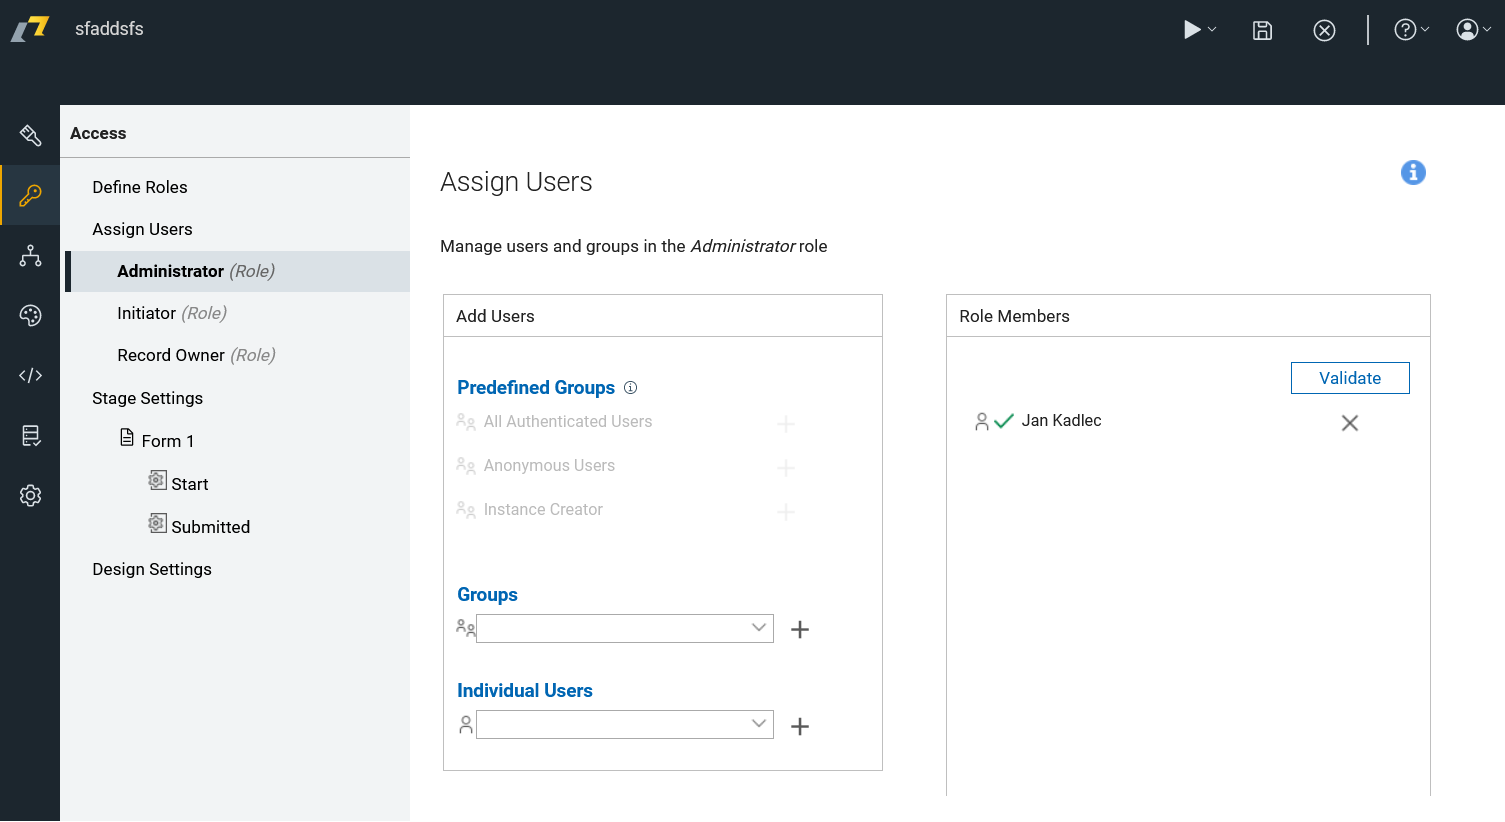
Roles There are three elementary Roles in each application associated to Form1:
- Administrator - A developer who created the app initially gets full access via the Administrator role. By default this role gives permission to read, upadate or delete data in any Stage and the permission to modify the application itself.
- Initiator - This role allows to open Form1 in Start stage - in other words it allows users to enter and submit data. By default, all authenticated users are assigned to this role.
- Record Owner - This role represents the user who submits the data, the creator of data record. By default, this role is mapped to a virtual Initiator group. This is a bit confusing.
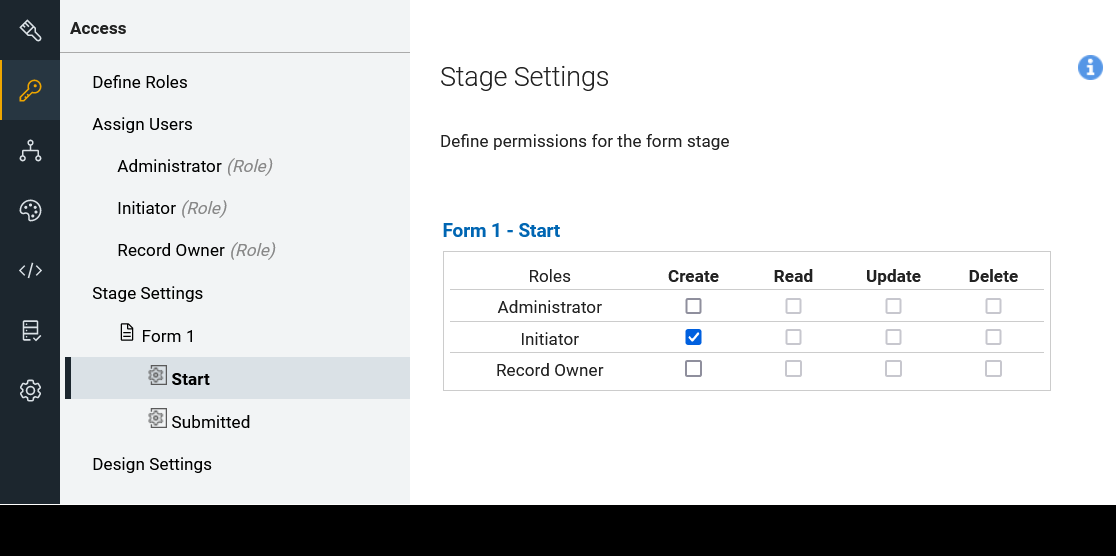
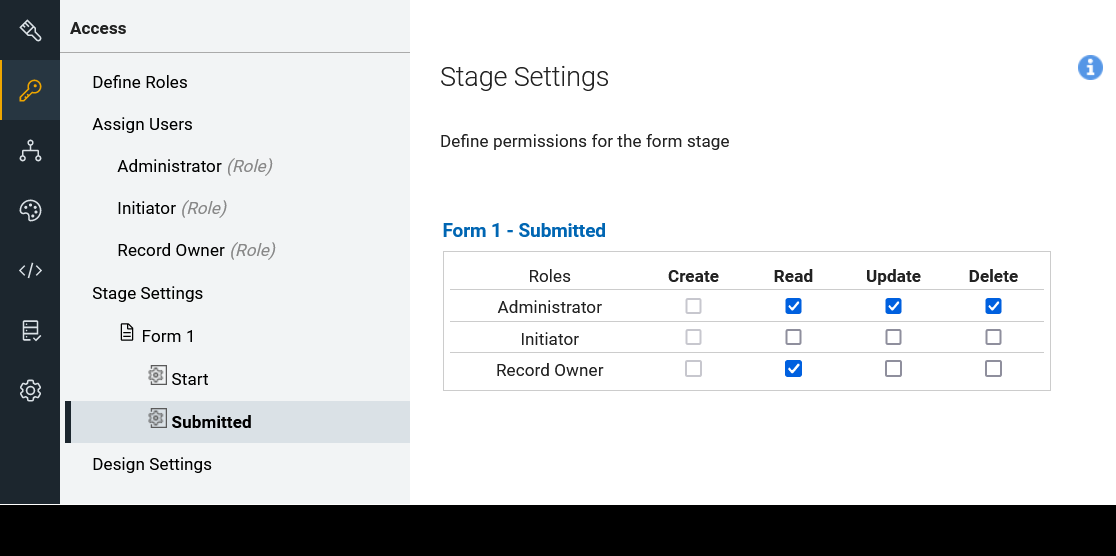
Permissions Finally there is a mapping that defines what each Role can do in each Stage in terms of CRUD operations. For example, only Initiator role can create new data records in stage Start. Operation that do not make sense in the given stage are disabled: 